It's a harsh truth, but in construction, a high price does not always guarantee high quality, although statistically it does increase the chances. Mississauga and Oakville are full of companies that consider themselves professionals but make rookie mistakes.
Here's what you're really buying from a “high-end” professional and what you need to watch out for:
- What should you get for a higher price?
Technical knowledge: A true expert will not say “we've always done it this way,” but will explain why they use specific construction chemicals (e.g., why sealing slurries are better than regular liquid foil for foundations).
Equipment: A premium professional has tools that minimize the risk of error (cross-line lasers, professional wall chasers with dust extraction, rather than a hammer and chisel).
Warranty and invoice: Top-tier contractors usually operate legally. This gives you grounds for a warranty claim if the foundation starts leaking again in two years. - Pitfalls of “expensive contractors”
Marketing instead of skills: Some have great ads and new cars with logos, but send unskilled assistants to the construction site, who are not supervised by anyone.
Conviction of infallibility: Sometimes an expensive professional ignores your comments because “he knows better,” which can be disastrous when it comes to difficult issues (such as a low foundation). - How to check if it's really “top shelf”?
Instead of just looking at the price list, verify:
Live portfolio: Ask for contact details for a customer for whom they did similar foundations 2-3 years ago. If the walls are dry, this is your man.
Order on the construction site: This is the best indicator. If the team leaves a mess and beer cans behind, their precision in insulating the foundations will be the same.
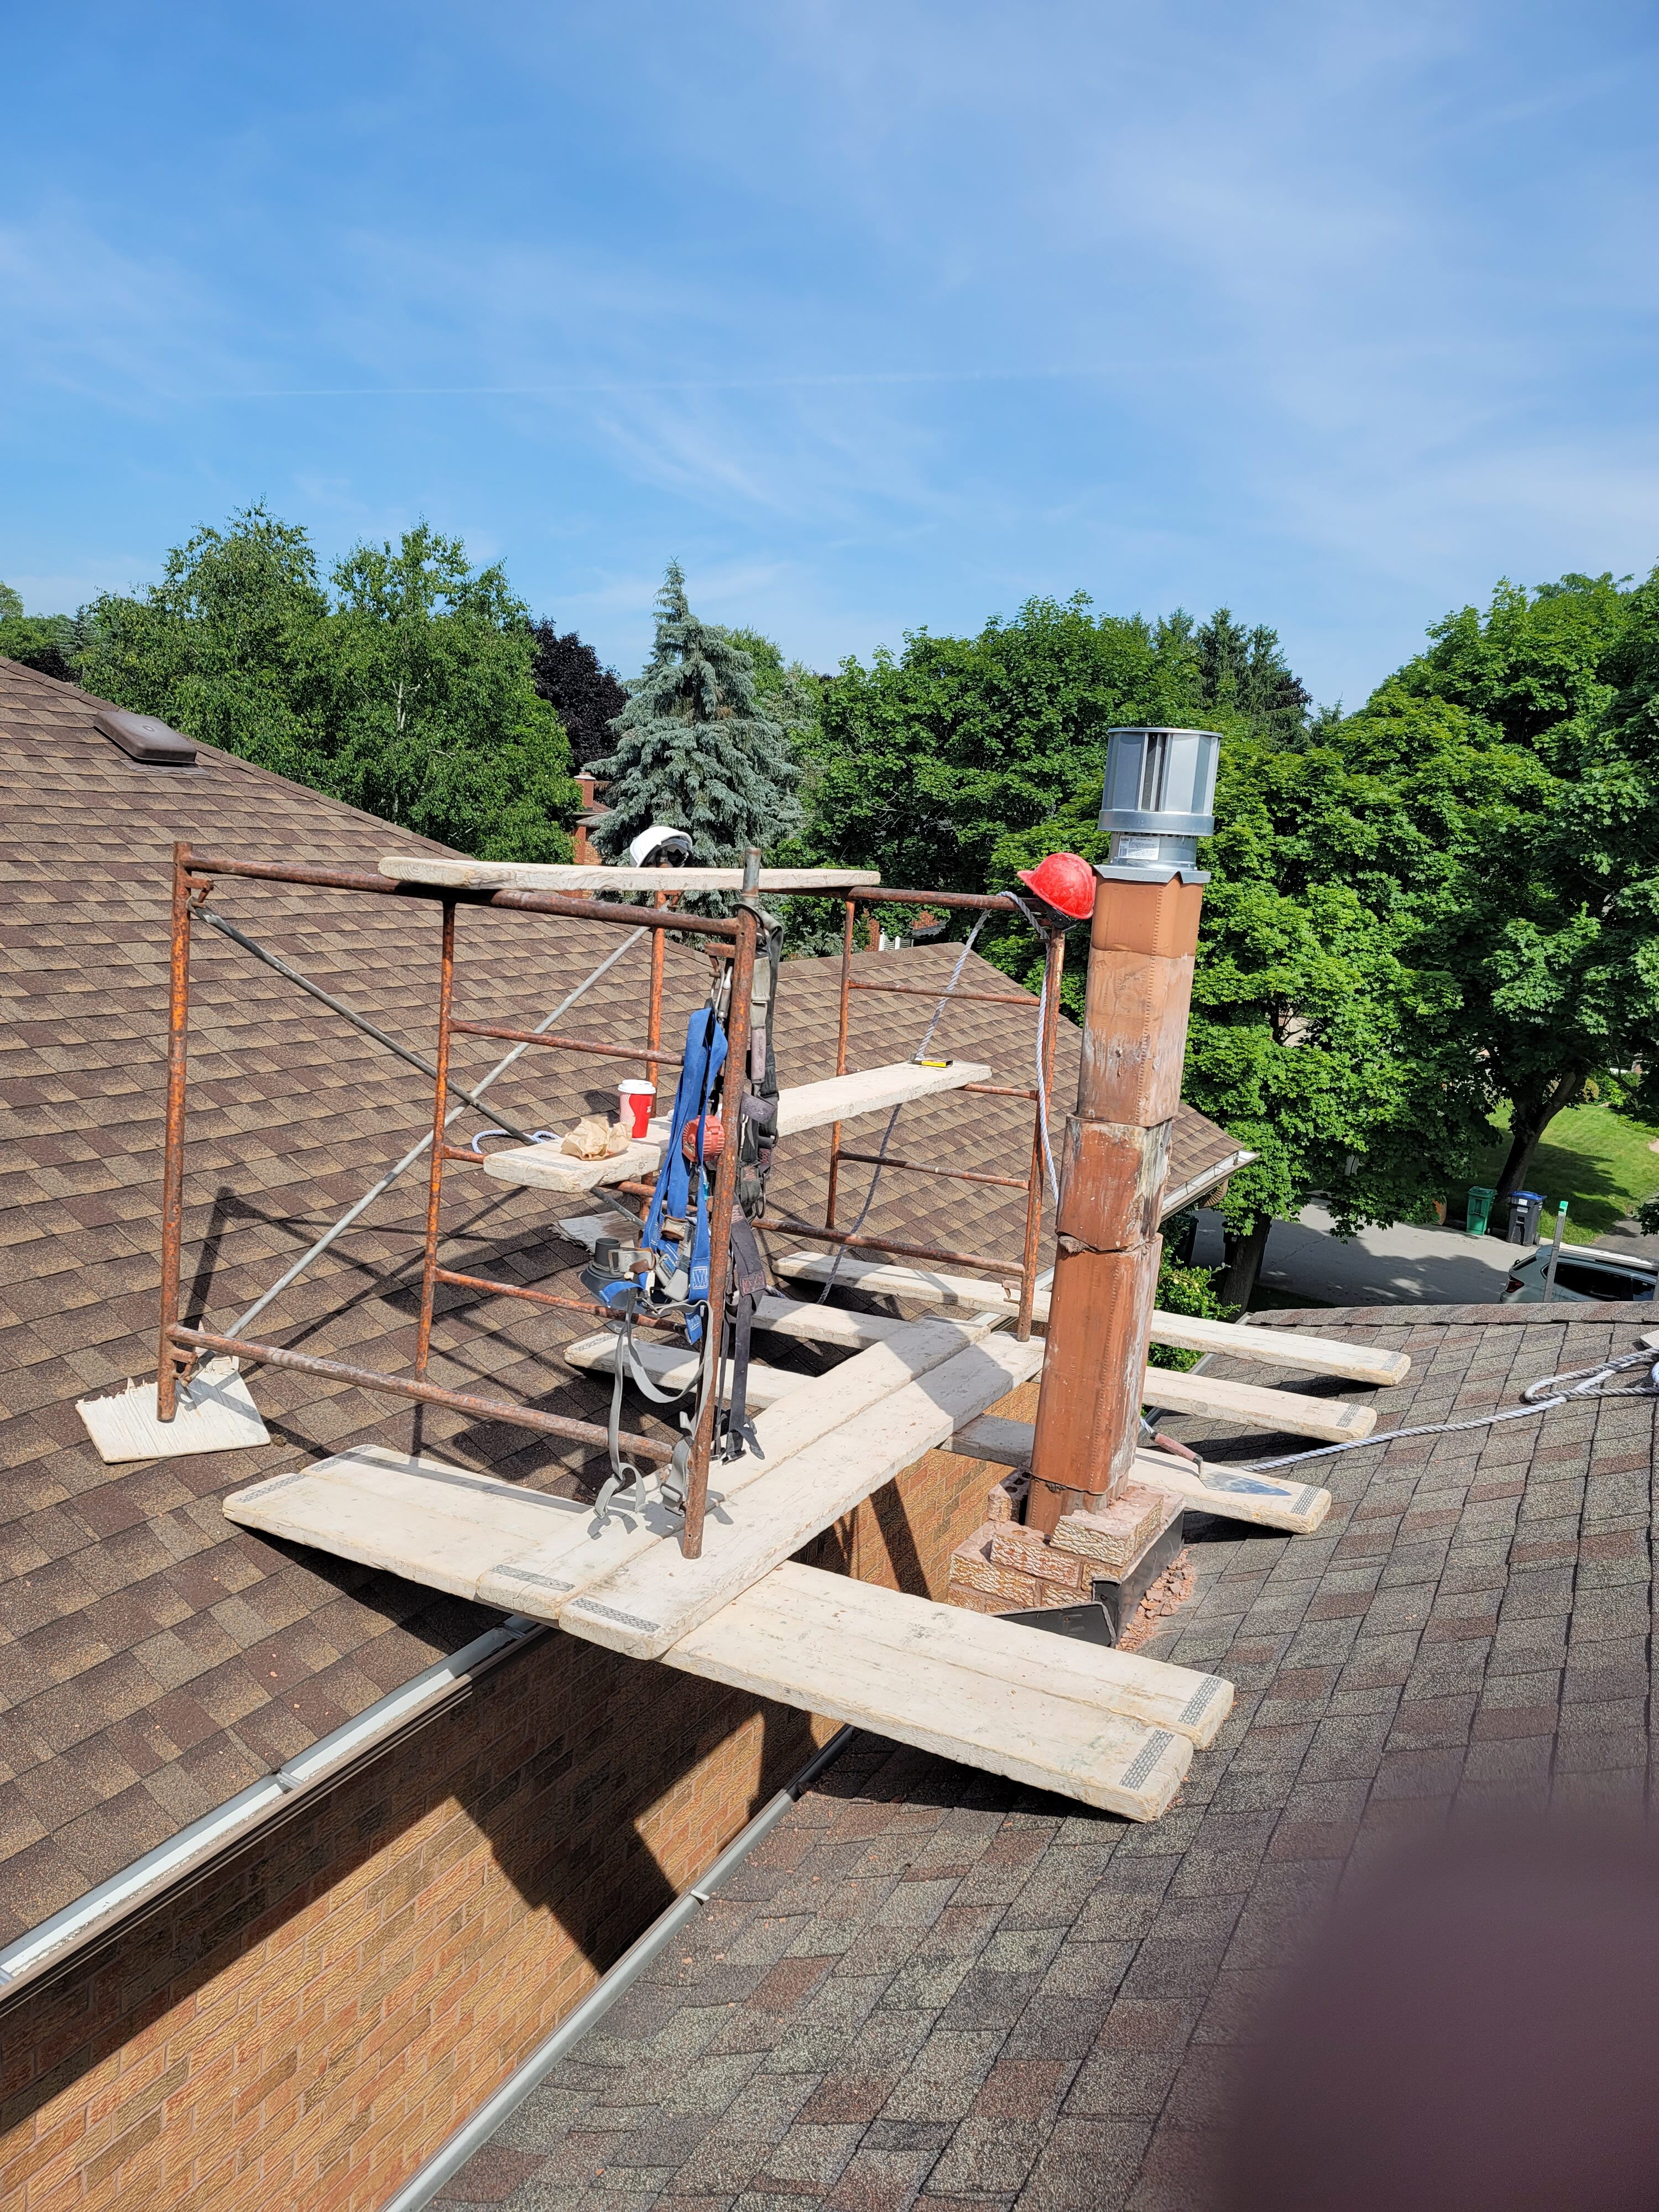
Details: Ask how they plan to finish the flashing around the chimney. If they answer, “We'll slap on some silicone and it'll stick,” run away—they are not premium professionals.
Summary
Price is only a filter. True quality comes from technology and reliability. Even the most expensive professional has to work according to the designer's plans if the house settles.
We provide services in three cities: Mississauga, Oakville, Toronto.
The choice between doing the repair yourself and hiring a professional depends on the extent of the damage and your experience, but with deep cavities and “washed out” joints, as is often the case in Toronto and Mississauga, the scales often tip in favor of a professional.
Here is a comparison of both solutions:
When can you repair it yourself?
Doing the repair yourself (known as grouting or jointing) makes sense if:
The damage is superficial and only occurs in a few places.
You have time for very tedious work (cleaning each gap is time-consuming).
Aesthetics are of secondary importance (it is difficult to perfectly match the color of the new mortar to the old one).
Why choose a professional? (Key reasons)
- Diagnosing the cause
A professional will assess whether the joints have been washed out by rain alone, or whether the problem is, for example, moisture rising from the foundations or a leaky gutter. If you do not remove the cause, the new joint will fall out after the first winter. - Choosing the right mortar
This is the most common mistake made by amateurs. Using cement mortar that is too hard for old, soft bricks will cause the bricks to crack and “pop” in winter (the weaker material cracks). A professional will select a mortar with the appropriate vapor permeability and hardness (e.g., lime or trass). - Preparing the substrate
In order for the new grout to last for years, the old joints must be scraped to a depth of approx. 1.5-2 cm, and the wall must be thoroughly dusted and moistened. Professionals use specialized tools (joint cutters) for this, which do the job precisely without damaging the edges of the bricks. - “Squeezing” technique
Professionals often work with mechanical or semi-automatic methods (grouting guns or special bags), which guarantees that the entire joint channel is filled tightly, rather than just “sealing” the hole from the top. This prevents the formation of air pockets where water collects. - Durability and aesthetics
A professional will ensure a uniform color across the entire wall and the correct joint profile (e.g., slightly concave), which facilitates the runoff of rainwater instead of allowing it to settle on the bricks.
Summary
If there are many holes and they are deep, it is better to call a professional. Poorly executed jointing can lead to irreversible damage to the bricks, which in the future will expose you to significantly higher costs of renovating the entire facade.
We provide services in three cities: Mississauga, Oakville, Toronto.
A common problem in Mississaua Oakville and Toronto is that the foundation is too low and the bricks are deteriorating, starting too low. How can this problem be solved, and is it worth putting in concrete bricks instead of regular bricks, or can they be reinforced later?
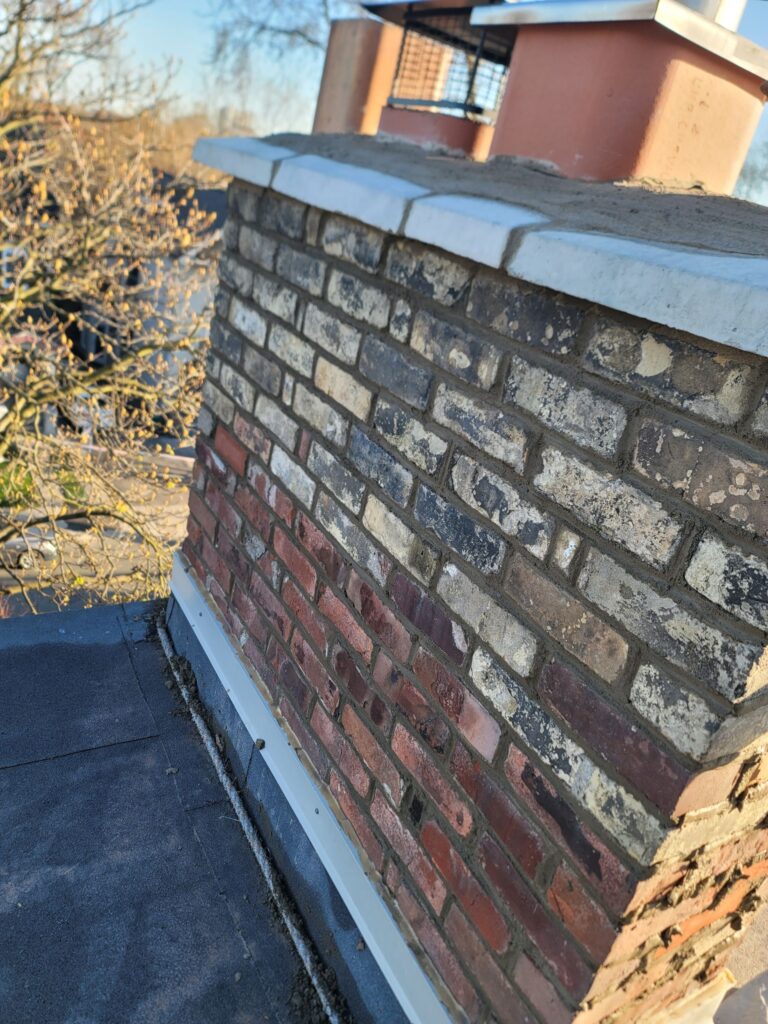
What you are referring to is a classic construction mistake in older houses (often found in buildings from the 1960s-1980s, including “cube” type houses), where the plinth area was poorly designed. Ceramic bricks, especially lower-grade ones, simply crumble (spall) when exposed to moisture from the ground and freezing cycles.
Here's how to approach this problem:
Is it worth replacing the bricks with concrete ones?
Yes, but with some reservations.
Concrete bricks (or concrete/foundation blocks) are much more resistant to moisture and compression than traditional red bricks. If you need to replace damaged sections of the wall at ground level:
Concrete blocks are the best choice. They have low water absorption and high strength.
Clinker brick: It is very durable and frost-resistant, but much more expensive. It is often used as a protective layer.
Concreting (rebuilding): Instead of inserting individual bricks, it is often better to cut out sections of the wall (step method) and pour reinforced concrete into the space, creating a so-called “raised foundation.”Repair methods (step by step)
If the foundation is too low, you have two main courses of action:
A. Raising the plinth (replacing the lower layers)
This is the most invasive but most effective method:
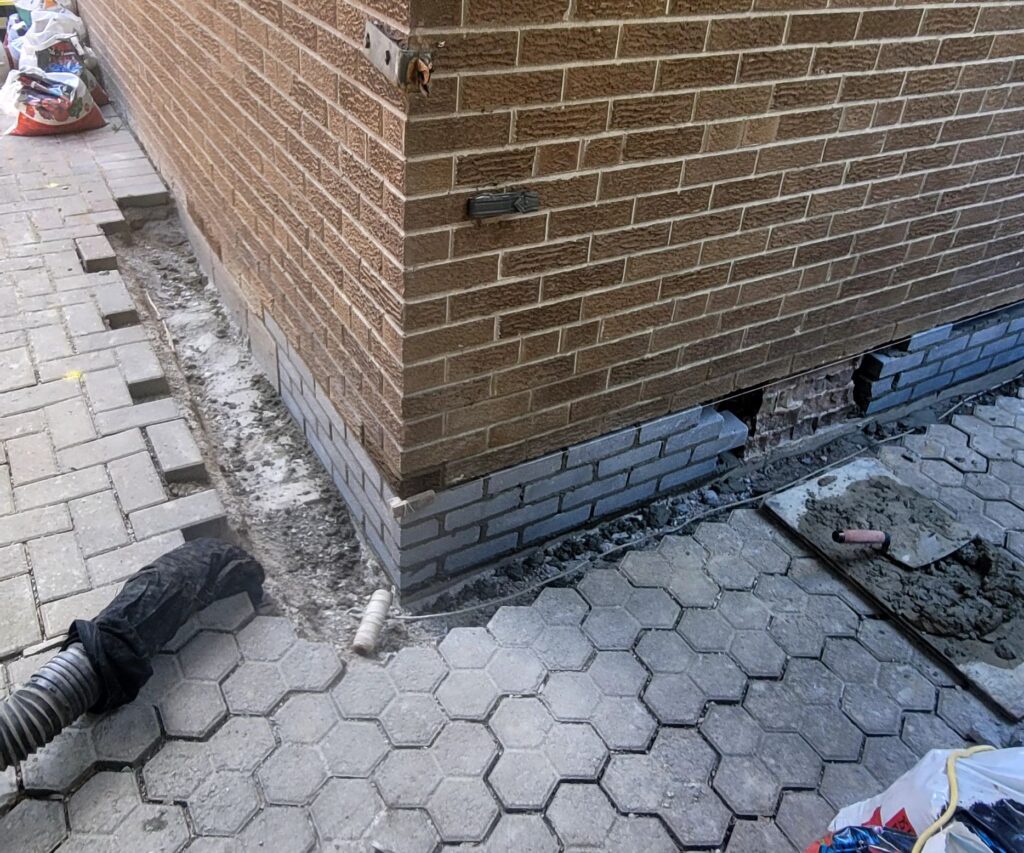
Section by section chiseling: Damaged bricks are removed in short sections (e.g., 1 meter) so as not to weaken the structure of the house.
Inserting horizontal insulation: At this stage, new heat-weldable roofing felt or thick foundation foil is laid.
Rebuilding: Concrete blocks are inserted in place of the old bricks or filled with concrete.
B. “Bathtub” insulation and lowering the ground
If you do not want to replace the bricks, you can try to isolate them from the source of the problem:
Lowering the ground level: If possible, remove the soil around the house to expose the foundation.
Perimeter drainage: Drain rainwater away from the walls to keep the ground around the bricks dry.
Waterproof screen: Install vertical insulation made of roofing felt/bituminous compounds up to a level of 30-50 cm above the ground.What about “reinforcement” (shotcrete/thickening)?
You mentioned “reinforcement” (probably meaning strengthening/thickening). You can make a so-called reinforced concrete jacket:
You dig up the foundation.
Drill holes in the existing foundation and insert reinforcing bars (anchors).
Add reinforcement and formwork for a new “wall” 10-15 cm thick, which overlaps the deteriorating bricks.
Pour concrete. This creates a new, tight, and strong barrier that takes over the load and protects the old brick.
Summary and recommendation
Replacing deteriorating brick with concrete or concrete blocks is a very good idea. Brick in the ground is always a ticking time bomb.
Important note: The order in which you do this work is crucial. Never dig up the entire house at once and do not knock down too long sections of walls, as the house may settle or crack. Work in sections of approx. 1-1.5 meters.
Are you planning to do this work yourself, or do you want to prepare guidelines for a construction crew?
We provide services in three cities: Mississauga, Oakville, Toronto.